Svelte
If you want to integrate JointJS+ with Svelte, you're in the right place! This tutorial will help you create a project, and after a few minutes, have a working JointJS+ Svelte application.
The source code for this tutorial can be found on GitHub. Looking for a different version of your favourite framework? Be sure to checkout the different branches of the repository to see if you find what you need.
This tutorial installs JointJS+ from our private npm registry. Sign up to receive your access token! If using the open-source JointJS library, you can still adapt the following integration steps to Svelte and the @joint/core package. Just follow the JointJS code in our Quickstart guide instead.
Create a Svelte project
In order to create our Svelte project, we will follow the recommended setup in the Svelte documentation.
npm create vite@latest
We will be prompted to choose some options about project configuration. Select the following:
- Project name: › joint-plus-tutorial-svelte
- Select a framework: › Svelte
- Select a variant: › TypeScript
After the setup is complete, we can change to the correct directory.
cd joint-plus-tutorial-svelte
Add JointJS+ to the Svelte project
First, we need to set up the JointJS npm registry with our access token. Then, we can add JointJS+ to the project by installing @joint/plus via our preferred package manager. All project dependencies will be installed alongside @joint/plus too.
- npm
- pnpm
- yarn
npm add @joint/plus
pnpm add @joint/plus
yarn add @joint/plus
Build the Svelte application
Before we get started, let's clean up the existing project a little bit.
- Open
src/App.svelte- Remove everything inside the
script,main, andstyletags - Add the CSS class "app" to the
maintag - Import JointJS+ CSS styles from
node_modulesvia thescripttag
- Remove everything inside the
- Change the
targetvalue todocument.bodyinsrc/main.ts - Remove the following line
<div id="app"></div>inindex.html - Remove all CSS rules in
src/app.css - Delete the
src/libdirectory
The current state of App.svelte and main.ts should be as follows:
// App.svelte

<script lang="ts">
    import '../node_modules/@joint/plus/joint-plus.css';
</script>

<main class="app"></main>

<style></style>
// main.ts

import './app.css';
import App from './App.svelte';

const app = new App({
    target: document.body
});

export default app;
Let's add some global styles by placing the following CSS rules in src/app.css.
body {
    margin: 0;
    padding: 0;
    height: 100vh;
    width: 100vw;
}

.app {
    width: 100%;
    height: 100%;
}

.joint-paper {
    border: 1px solid #A0A0A0;
}
Now that the basic setup is completed, we are ready to create our JointJS+ Svelte application. We will take
advantage of 2 Svelte features in our App.svelte component. onMount
allows us to run code after the component is first rendered in the DOM, and
bind:this allows us to interact with our component
programmtically via a reference to a rendered element.
The relevant JointJS+ code is also imported.
<script lang="ts">
    import { onMount } from 'svelte';
    import { dia, ui, shapes } from '@joint/plus';
    import '../node_modules/@joint/plus/joint-plus.css';

    let ref: HTMLElement;

    onMount(() => {});
</script>

<main bind:this={ref} class="app"></main>

<style></style>
After our ref variable, we can add the Graph, Paper, and PaperScroller.
const graph = new dia.Graph({}, { cellNamespace: shapes });

const paper = new dia.Paper({
    model: graph,
    background: {
        color: '#F8F9FA',
    },
    frozen: true,
    async: true,
    cellViewNamespace: shapes
});

const scroller = new ui.PaperScroller({
    paper,
    autoResizePaper: true,
    cursor: 'grab'
});
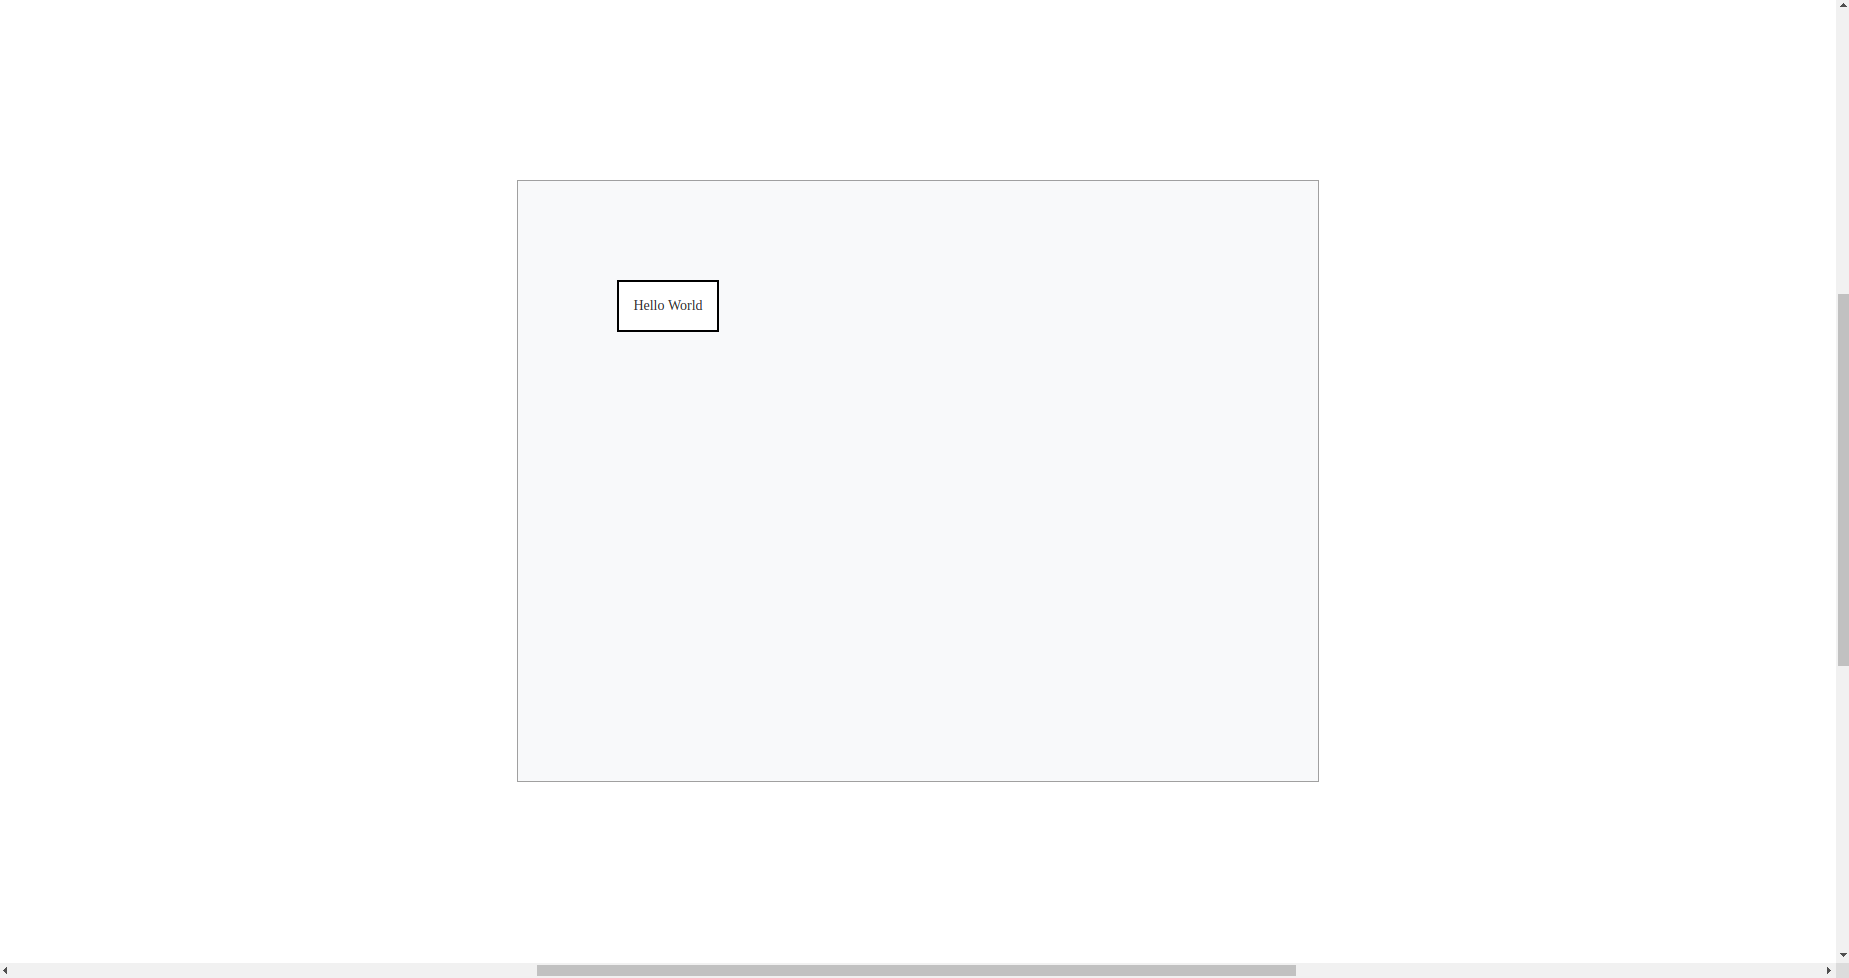
Next, let's render our PaperScroller component, create a simple Rectangle shape, and add it to our Graph.
scroller.render();

const rect = new shapes.standard.Rectangle({
    position: { x: 100, y: 100 },
    size: { width: 100, height: 50 },
    attrs: {
        label: {
            text: 'Hello World'
        }
    }
});

graph.addCell(rect);
Inside the onMount lifecycle function, let's append the PaperScroller to our ref that we created earlier. Afterwards, we can position the Paper in the center of the PaperScroller viewport, and unfreeze the Paper.
onMount(() => {
    ref.appendChild(scroller.el);
    scroller.center();
    paper.unfreeze();
});
That's all it takes to create a simple JointJS+ Svelte application. The final application code is as follows:
<script lang="ts">
    import { onMount } from 'svelte';
    import { dia, ui, shapes } from '@joint/plus';
    import '../node_modules/@joint/plus/joint-plus.css';

    let ref: HTMLElement;

    const graph = new dia.Graph({}, { cellNamespace: shapes });

    const paper = new dia.Paper({
        model: graph,
        background: {
            color: '#F8F9FA',
        },
        frozen: true,
        async: true,
        cellViewNamespace: shapes
    });

    const scroller = new ui.PaperScroller({
        paper,
        autoResizePaper: true,
        cursor: 'grab'
    });

    scroller.render();

    const rect = new shapes.standard.Rectangle({
        position: { x: 100, y: 100 },
        size: { width: 100, height: 50 },
        attrs: {
            label: {
                text: 'Hello World'
            },
        }
    });

    graph.addCell(rect);

    onMount(() => {
        ref.appendChild(scroller.el);
        scroller.center();
        paper.unfreeze();
    });
</script>

<main bind:this={ref} class="app"></main>

<style></style>
To serve our JointJS+ Svelte application, we can use npm run dev. Lastly,
let's visit the url suggested by our terminal in the browser, and we should see our JointJS+ Svelte application!
Frequently asked questions
Do you have demo X available in Svelte?
We have a few demos written specifically in Svelte, but not all of them. However, the modular nature of JointJS makes it possible to adapt any JointJS example to Svelte.
Learn more...
Svelte examples in our Svelte tutorial GitHub repository:
We provide our Diagram Index and Tabs demos in Svelte. The source code can be found on GitHub at the links below:
-
Diagram Index (online demo) - source code can be found in a branch of our Svelte tutorial GitHub repository.
-
Tabs (online demo) - source code can be found in a branch of our Svelte tutorial GitHub repository.
Make sure to check out the other branches of the repository for additional Svelte content.
Other Svelte content:
We also have a Svelte tutorial, which covers the basics of the integration - see above.